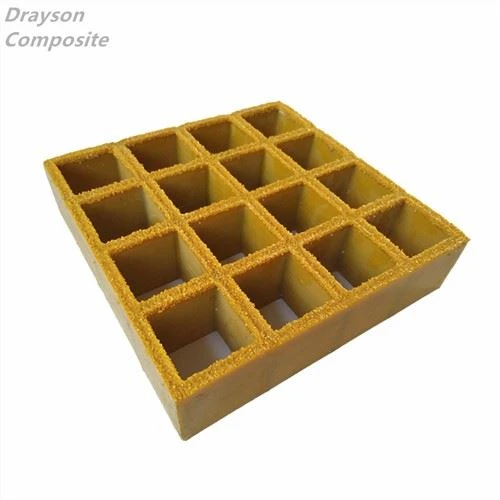
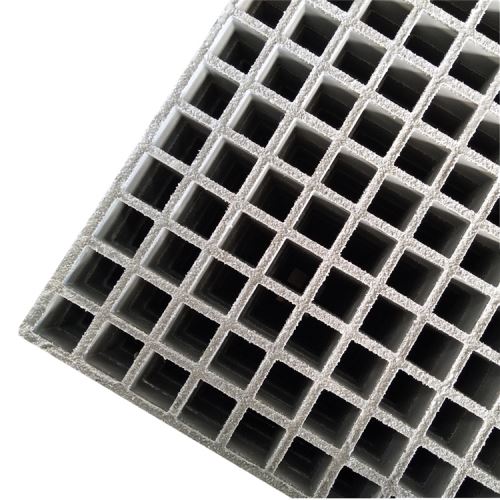
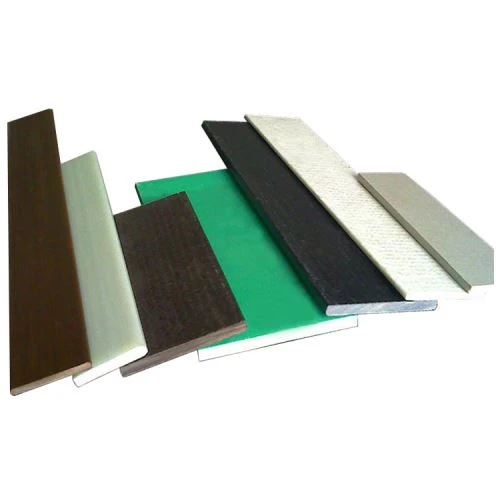
Fiberglass bars are renowned for their durability, strength, and resistance to corrosion, making them a popular choice in various industries. However, like any material, they can get damaged over time due to various factors such as physical impacts, environmental exposure, or improper handling. As a seasoned Fiberglass Bar supplier, I've encountered numerous clients facing this issue. In this blog, I'll share some professional insights on how to repair a damaged fiberglass bar effectively.
Identifying the Damage
The first step in repairing a damaged fiberglass bar is to accurately identify the type and extent of the damage. There are generally three main types of damage you might encounter:
-
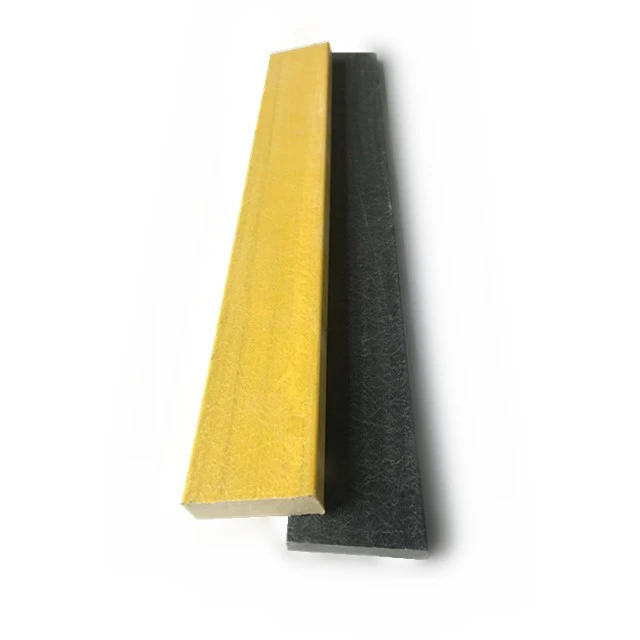
Surface Scratches and Abrasions: These are the most common types of damage. They usually occur due to minor impacts or rubbing against rough surfaces. While surface scratches may not significantly affect the structural integrity of the bar, they can impact its appearance and potentially make it more susceptible to further damage.

-
Cracks: Cracks can vary in size and depth. Small surface cracks may only affect the outer layer of the fiberglass, while deeper cracks can compromise the structural strength of the bar. Cracks can be caused by excessive stress, sudden impacts, or thermal expansion and contraction.
-
Chips and Breaks: Chips and breaks are more severe forms of damage. They can occur when the bar is subjected to a heavy impact or extreme force. In the case of a break, the bar may be split into two or more pieces.
Gathering the Necessary Tools and Materials
Once you've identified the damage, you'll need to gather the appropriate tools and materials for the repair. Here's a list of what you'll typically need:
- Safety Equipment: Safety glasses, gloves, and a respirator to protect yourself from fiberglass dust and potential fumes.
- Sandpaper: Various grits of sandpaper, ranging from coarse to fine, for sanding the damaged area and preparing the surface.
- Fiberglass Repair Kit: This usually includes resin, hardener, fiberglass cloth, and brushes. Make sure to choose a kit that is suitable for the type of fiberglass bar you are repairing.
- Utility Knife: For cutting the fiberglass cloth to the appropriate size.
- Putty Knife: For applying the resin and fiberglass cloth to the damaged area.
- Clamps: To hold the bar in place while the resin cures.
Preparing the Damaged Area
Before you start the repair process, it's essential to prepare the damaged area properly. Here are the steps to follow:
-
Clean the Area: Use a mild detergent and water to clean the damaged area thoroughly. This will remove any dirt, grease, or debris that could interfere with the repair process. Rinse the area with clean water and allow it to dry completely.
-
Sand the Damaged Area: Use coarse sandpaper to sand the damaged area and the surrounding area. This will help to roughen the surface and allow the resin to adhere better. Make sure to sand evenly and remove any loose or damaged fiberglass.
-
Cut the Fiberglass Cloth: Measure the damaged area and cut the fiberglass cloth to the appropriate size. It's a good idea to cut the cloth slightly larger than the damaged area to ensure complete coverage.
Repairing Surface Scratches and Abrasions
Surface scratches and abrasions can be repaired relatively easily using a fiberglass repair kit. Here's how:
-
Mix the Resin and Hardener: Follow the instructions on the fiberglass repair kit to mix the resin and hardener in the correct ratio. Stir the mixture thoroughly until it is well combined.
-
Apply the Resin to the Damaged Area: Use a putty knife to apply a thin layer of resin to the damaged area. Make sure to spread the resin evenly and cover the entire damaged area.
-
Apply the Fiberglass Cloth: Place the fiberglass cloth over the resin and press it down gently to ensure good contact. Use a putty knife to smooth out any wrinkles or bubbles in the cloth.
-
Apply Another Layer of Resin: Once the fiberglass cloth is in place, apply another layer of resin over the cloth. Make sure to cover the cloth completely and smooth out the surface.
-
Allow the Resin to Cure: Follow the instructions on the fiberglass repair kit for the curing time. This usually takes a few hours to a few days, depending on the type of resin and the temperature.
Repairing Cracks
Repairing cracks in a fiberglass bar requires a slightly different approach. Here's how to do it:
-
Clean and Sand the Crack: Use a wire brush or sandpaper to clean the crack and remove any loose or damaged fiberglass. Then, sand the area around the crack to create a smooth surface.
-
Mix the Resin and Hardener: Follow the instructions on the fiberglass repair kit to mix the resin and hardener in the correct ratio. Stir the mixture thoroughly until it is well combined.
-
Inject the Resin into the Crack: Use a syringe or a caulking gun to inject the resin into the crack. Make sure to fill the crack completely and allow the resin to seep into the surrounding fiberglass.
-
Apply the Fiberglass Cloth: Once the crack is filled with resin, place a strip of fiberglass cloth over the crack. Use a putty knife to press the cloth down firmly and smooth out any wrinkles or bubbles.
-
Apply Another Layer of Resin: Apply another layer of resin over the fiberglass cloth. Make sure to cover the cloth completely and smooth out the surface.
-
Allow the Resin to Cure: Follow the instructions on the fiberglass repair kit for the curing time. This usually takes a few hours to a few days, depending on the type of resin and the temperature.
Repairing Chips and Breaks
Repairing chips and breaks in a fiberglass bar is the most challenging type of repair. Here's how to do it:
-
Clean and Prepare the Broken Pieces: Use a wire brush or sandpaper to clean the broken pieces and remove any loose or damaged fiberglass. Then, sand the edges of the broken pieces to create a smooth surface.
-
Align the Broken Pieces: Carefully align the broken pieces of the bar and hold them in place using clamps or tape. Make sure the pieces fit together tightly and there are no gaps.
-
Mix the Resin and Hardener: Follow the instructions on the fiberglass repair kit to mix the resin and hardener in the correct ratio. Stir the mixture thoroughly until it is well combined.
-
Apply the Resin to the Joint: Use a putty knife to apply a thin layer of resin to the joint between the broken pieces. Make sure to spread the resin evenly and cover the entire joint.
-
Apply the Fiberglass Cloth: Place a strip of fiberglass cloth over the joint and press it down firmly. Use a putty knife to smooth out any wrinkles or bubbles in the cloth.
-
Apply Another Layer of Resin: Apply another layer of resin over the fiberglass cloth. Make sure to cover the cloth completely and smooth out the surface.
-
Allow the Resin to Cure: Follow the instructions on the fiberglass repair kit for the curing time. This usually takes a few hours to a few days, depending on the type of resin and the temperature.
Finishing the Repair
Once the resin has cured, you'll need to finish the repair to restore the appearance and functionality of the fiberglass bar. Here's what you need to do:
-
Sand the Repaired Area: Use fine sandpaper to sand the repaired area until it is smooth and flush with the surrounding surface. Make sure to sand evenly and avoid creating any uneven spots.
-
Polish the Repaired Area: Use a polishing compound to polish the repaired area and restore its shine. This will help to blend the repaired area with the surrounding surface and make it less noticeable.
-
Inspect the Repair: Once you've finished sanding and polishing the repaired area, inspect it carefully to make sure the repair is complete and the bar is in good condition. Check for any signs of cracking, peeling, or other damage.
Contact for Purchase and Further Consultation
If you're in the market for high - quality fiberglass bars, or if you have any questions about the repair process or our products, we're here to assist you. We offer a wide range of fiberglass bars, including Fiberglass Flat Bar, FRP Flat Bar and Anti Slip Fiberglass Flat Strips | FRP Flat Bar | GRP Decking Strips. Our team of experts is ready to provide you with detailed product information and help you make the right choice for your project. Don't hesitate to reach out to us for a purchase consultation.
References
- "Fiberglass Repair Manual", Industrial Fiberglass Association
- "Advanced Composites in Construction", John Wiley & Sons